
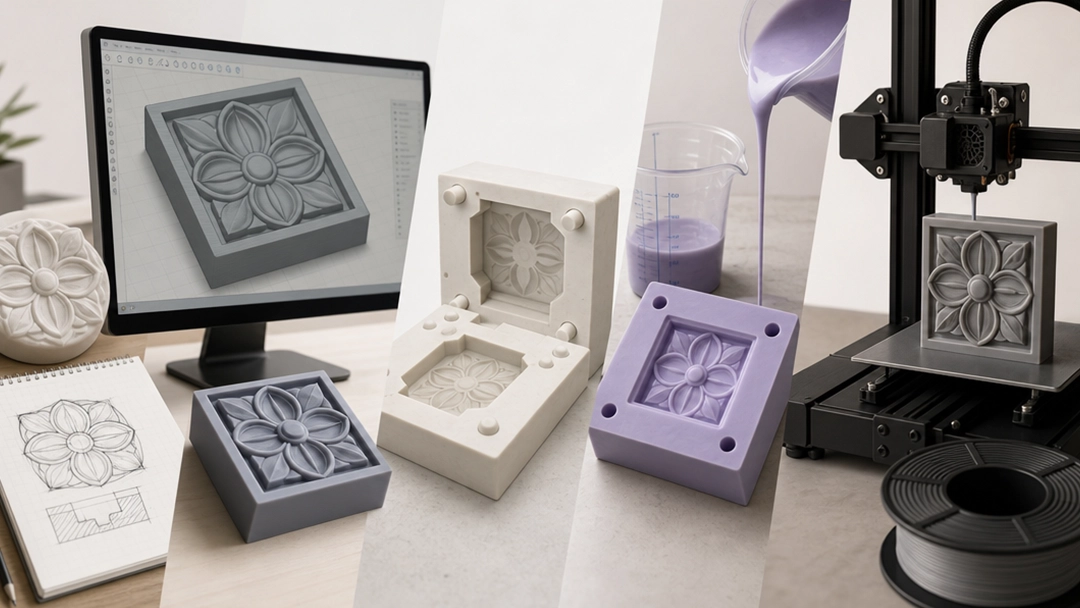
Many makers start mold making by thinking about silicone, resin, plastic, or the 3D printer they plan to use. Those choices matter, but they are not usually what makes a mold succeed or fail. The real foundation is the shape behind the mold: the object, sketch, CAD model, or STL file that defines every wall, cavity, opening, and release point.
If your goal is to create mold tooling from an idea, physical object, or 3D model, the smartest first step is understanding how the design will behave before you spend money on materials. A mold is only as accurate as the model behind it. Poor wall thickness, hidden undercuts, rough mesh geometry, or missing draft can turn a promising idea into a mold that traps the part, leaks, warps, or prints poorly.
This guide explains how to move from concept to print-ready STL file with fewer surprises, whether you want to make a silicone mold, resin mold, soap mold, candle mold, plastic prototype, chocolate mold, or a custom mold for small-batch production.
What Does It Mean to Create a Mold?
To create a mold, you are creating a controlled negative space that can shape another material. That material might be silicone, resin, soap, wax, chocolate, clay slip, plaster, plastic, or another casting medium. The mold’s job is simple in theory: hold the material in the right shape, release the finished piece cleanly, and repeat the result as consistently as possible.
In practice, mold making is a design problem before it is a material problem. A candle mold needs a shape that releases without tearing. A resin mold needs enough depth and support to reduce distortion. A soap mold may need rounded edges, proper cavity spacing, and a practical way to demold each bar. A plastic prototype may need tighter tolerances and stronger walls. A ceramic press mold or stamp needs surface detail that transfers cleanly into clay without grabbing too aggressively.
That is why the first question is not “What should I pour?” It is “What shape am I trying to reproduce, and how will that shape come out of the mold?” Once that is clear, you can decide whether you need a hand-built mold, a 3D printed mold, a master model for silicone casting, or a digital mold design built around a printable STL file.
Why Mold Design Starts Before the Material
Many mold projects fail because the maker chooses the material first and solves the geometry later. This usually leads to preventable issues: the object gets stuck, the cavity is too thin, details do not print cleanly, or the final casting is slightly wrong in size. The material can only follow the design you give it.
A good mold design considers the full path from idea to finished part. Before choosing silicone hardness, resin type, print filament, or plastic, look at the form itself. Does it have deep recesses? Sharp corners? Thin raised details? A flat back? A curved surface? These details affect how the mold should be divided, supported, printed, filled, vented, and released.
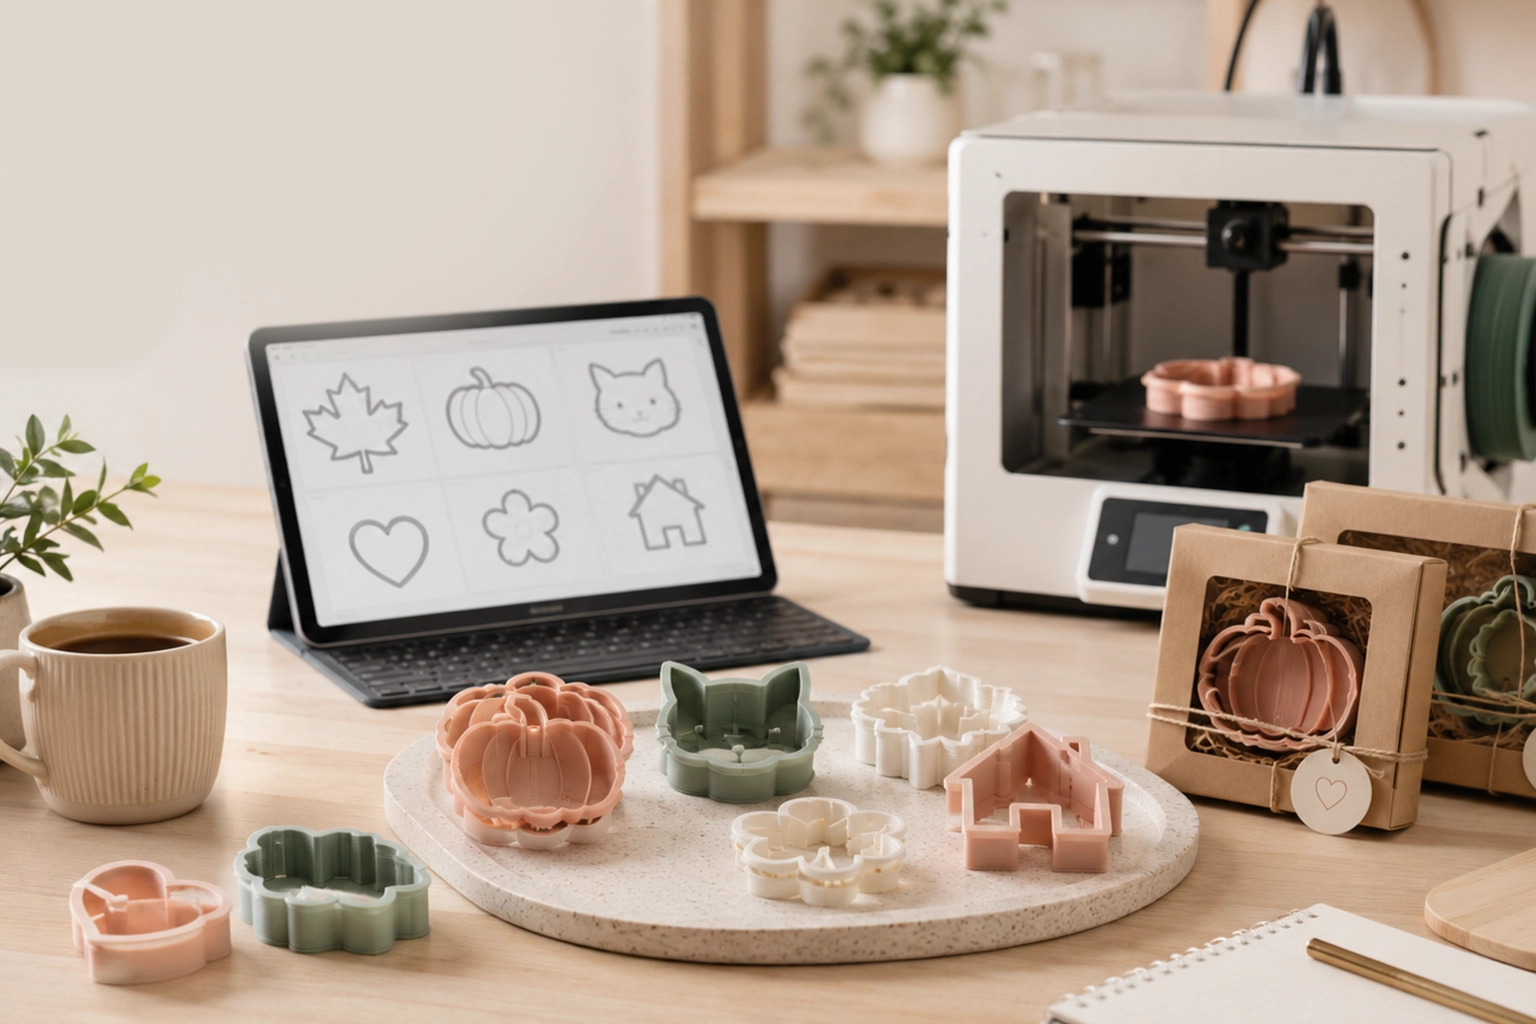
This is where digital mold design becomes useful. When you work from a 3D model, you can check proportions, resize the object, add a border, build a mold cavity, create registration keys for a two-part mold, and prepare a cleaner STL file before anything is printed or poured. If you are starting from artwork, a sketch, or a flat reference, an online STL editor can help turn the concept into mold-ready geometry instead of guessing by hand.
A mold is only as accurate as the model behind it. The cleaner the model, the fewer surprises you usually face during printing, casting, and demolding.
Can You Create a Mold from a Physical Object?
Yes, you can create a mold from a physical object, but the right method depends on the object’s shape, size, surface detail, and purpose. A simple object with a flat back might be molded directly in silicone. A complex object with overhangs, undercuts, or fragile details may need to be 3D scanned, digitally cleaned, or rebuilt as a CAD model before you make the mold.
If you are duplicating a handmade product, miniature, jewelry component, figurine, soap bar, charm, cosplay accessory, or prototype part, start by studying the object from a mold-maker’s point of view.
- Can the finished piece slide out of the mold without tearing or locking in place?
- Are there undercuts, meaning areas that hook under the mold and make release difficult?
- Does the object need a one-piece mold, split mold, or two-part mold?
- Will fine surface details survive 3D printing, casting, and cleaning?
- Does the final piece need exact scale, or can the design be adjusted slightly for better release?
For an existing object, there are usually three routes. You can mold the object directly, scan it into a digital file, or recreate it as a new 3D model. Direct molding is fast for simple shapes, but it gives you less control. 3D scanning captures the physical object, but scan files often need file repair and mesh optimization. Rebuilding the object digitally takes more setup, but it can produce a cleaner, more editable model.
If you want to turn a physical item into a printable mold workflow, it often helps to create a 3D model for your mold before committing to materials.
Why an STL File Matters for Mold Making
An STL file is one of the most common file formats used for 3D printing because it describes the surface geometry of a 3D object. For mold making, that geometry matters because it tells the printer, slicer, or production tool what shape to create. If the STL file is messy, open, too thin, or poorly scaled, the mold can inherit those problems.
A mold STL file may represent different things depending on the project. It could be the object you print first as a master, then cast around with silicone. It could be the negative mold cavity itself. It could be one half of a split mold. It could also be a stamp, tile, texture plate, or press tool used to shape clay, wax, fondant, soap, or polymer clay.
For 3D printing preparation, the STL should ideally be watertight, correctly scaled, and built with real-world use in mind. “Watertight” means the model is closed with no holes in the mesh, so the software can understand what is inside and outside. Strong wall thickness helps the printed mold resist cracking or flexing. Clean geometry helps details print more predictably.
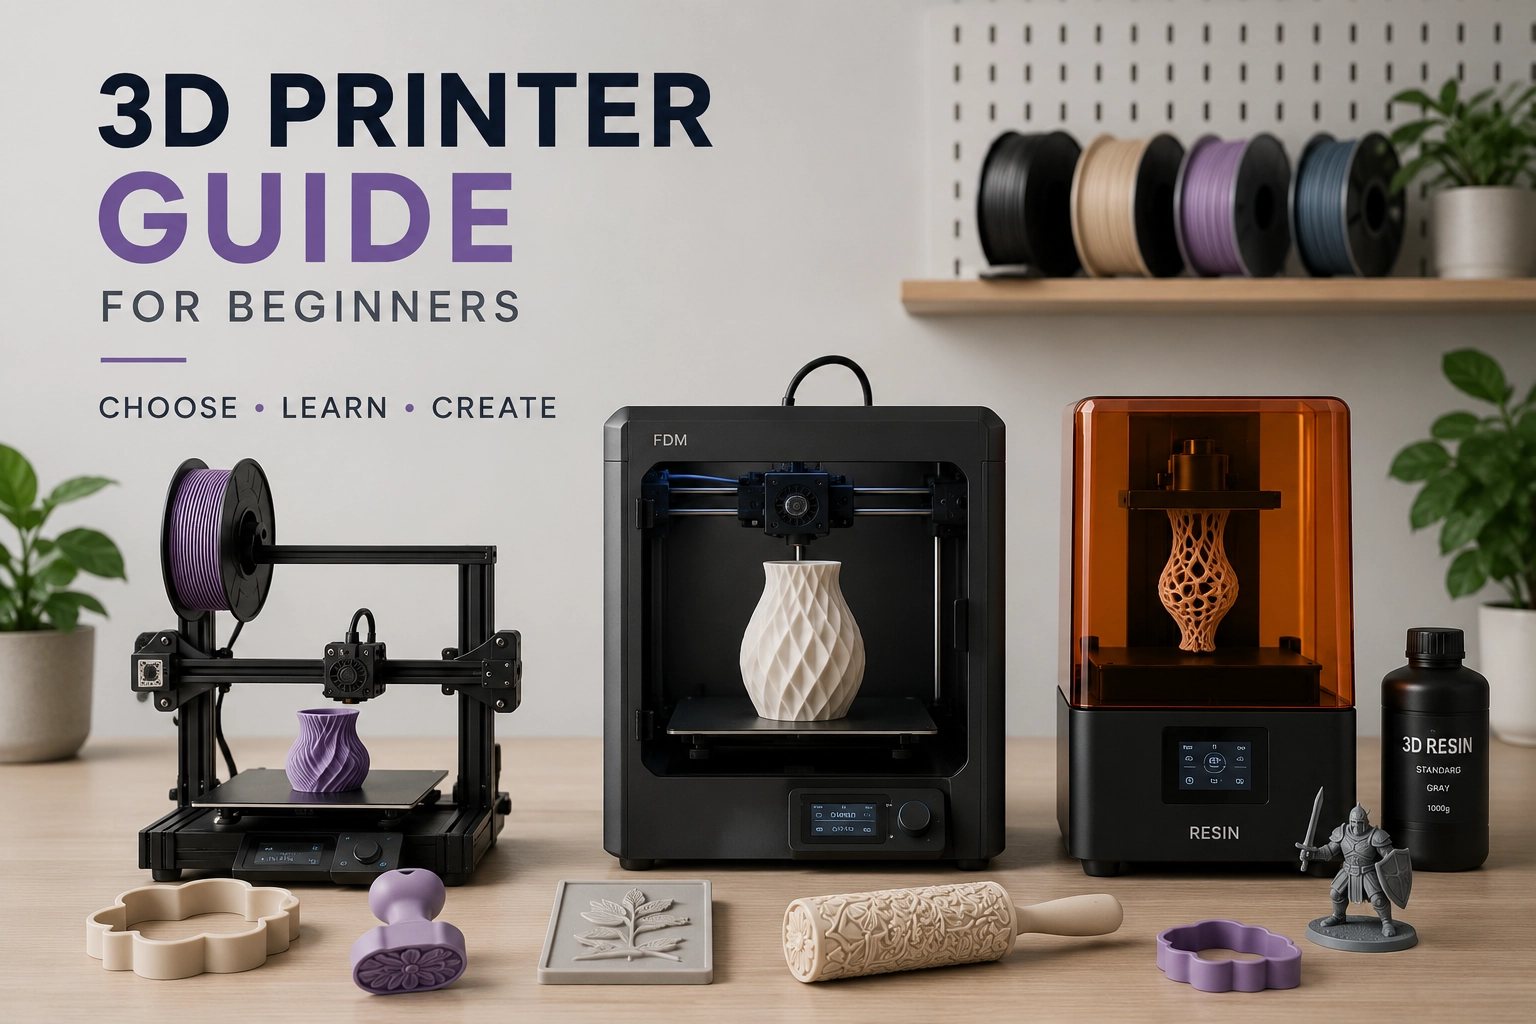
If you plan to print the mold or master yourself, start with a print-ready STL file rather than a decorative model that only looks good on screen.
This is especially important for small-batch sellers. If you sell candles, soaps, resin charms, polymer clay earrings, miniatures, cosplay accessories, or product samples, a slightly flawed file can cost more than one failed print. It can also affect every piece made from that mold afterward.
How to Create Mold-Ready STL Files Step by Step
The mold making process becomes easier when you separate the creative idea from the production file. You do not need to become a full CAD expert to understand the workflow. You only need to know what decisions affect the finished mold.
- Define the final item. Decide whether you are making a finished product, a casting mold, a master model, a press tool, a stamp, or a prototype mold.
- Choose the mold type. A simple object may need a one-piece mold. A more dimensional object may need a split mold or two-part mold with registration points.
- Check the release direction. Think about how the cast piece will come out. Draft angle, even a slight taper, can make release easier.
- Plan the cavity. The mold cavity should match the finished shape while allowing enough spacing, support, and material flow.
- Add functional features. Pouring channels, vent holes, lips, keys, borders, and alignment features can make the mold easier to use.
- Prepare the STL. Repair mesh issues, confirm scale, check wall thickness, and make sure the file is ready for slicing or production.
The goal is not to make the most complicated file. The goal is to make a file that behaves well in the real world. A printable mold file should reflect how the object will be filled, cured, cooled, removed, cleaned, and used again. That practical thinking is what separates a nice-looking 3D model from a useful mold design.
Common Problems When Creating a Mold
Most mold problems are easier to fix in the model than after the mold is printed or cast. These are the issues that often cause wasted material, failed prototypes, or inconsistent product duplication.
- Undercuts: These are areas where the shape hooks under the mold, making the piece hard to remove. Sometimes flexible silicone can handle them, but rigid 3D printed molds usually need simpler release paths.
- Thin walls: If mold walls are too thin, they may flex, crack, leak, or distort. Wall thickness should match the mold size, material, and intended reuse.
- No draft angle: Straight vertical walls can work in some cases, but a slight taper often helps the part release more cleanly.
- Poorly placed pouring channels: If material cannot flow into the cavity evenly, you may get bubbles, voids, or incomplete casts.
- No vent holes: Air needs somewhere to escape, especially in deeper cavities, detailed areas, or two-part molds.
- Messy mesh geometry: Scan files and downloaded models can contain holes, overlapping surfaces, or non-manifold edges that make printing unreliable.
- Wrong scale: A mold made at the wrong size may not fit packaging, product standards, jewelry findings, or customer expectations.
These details do not mean mold making has to be intimidating. They simply show why a mold should be designed around the end use. For example, a resin mold for small charms needs different priorities than a soap mold for batch production. A chocolate mold needs food-safe planning and suitable materials. A plastic prototype may need tighter dimensions and more attention to shrinkage, fit, and testing.
When the project has several moving parts, custom mold design can be a practical way to reduce trial and error before you print or cast.
Ready-Made STL vs Custom STL for Mold Design
Ready-made STL files can be useful when your needs are simple and the file already matches your size, material, and mold type. They are often a good starting point for hobby projects, quick experiments, or non-critical decorative forms. The limitation is that a downloaded STL is rarely built around your exact product, casting material, release direction, wall thickness, and production workflow.
A custom STL design is different because it starts with your intended result. The file can be created around your object, sketch, logo, reference image, product dimensions, or use case. That matters when you are creating items for sale, testing a prototype, or trying to make repeated casts that look consistent.
Option Good For Watch For Ready-made STL Basic shapes, hobby tests, simple decorative molds May need resizing, file repair, or design changes for mold use Modified STL Projects where an existing model is close but not production-ready Undercuts, weak walls, scale issues, and unclear licensing Custom STL Product prototypes, small-batch production, branded shapes, object replication Requires clearer input, measurements, and mold-use planningFor handmade sellers, the choice often comes down to cost of mistakes. If a ready-made file works, there is no reason to overcomplicate the project. But if you need a specific size, brand shape, product cavity, repeatable output, or a cleaner mold STL file, custom STL design usually gives you more control.
When Should You Get a Custom STL File?
You should consider a custom STL file when the mold needs to do more than copy a generic shape. This is common for small business owners, Etsy sellers, Shopify sellers, product designers, and makers who want to turn a clear idea into a repeatable item.
A custom file makes sense when you have:
- a sketch, logo, or reference image that needs to become a 3D model;
- a physical object you want to replicate or modify;
- a product prototype that needs testing before larger production;
- a mold that must fit a specific size, depth, or packaging requirement;
- a two-part mold that needs alignment keys, vent holes, or a pouring channel;
- a model that prints poorly and needs mesh optimization;
- a downloaded STL that looks right but is not designed for casting.
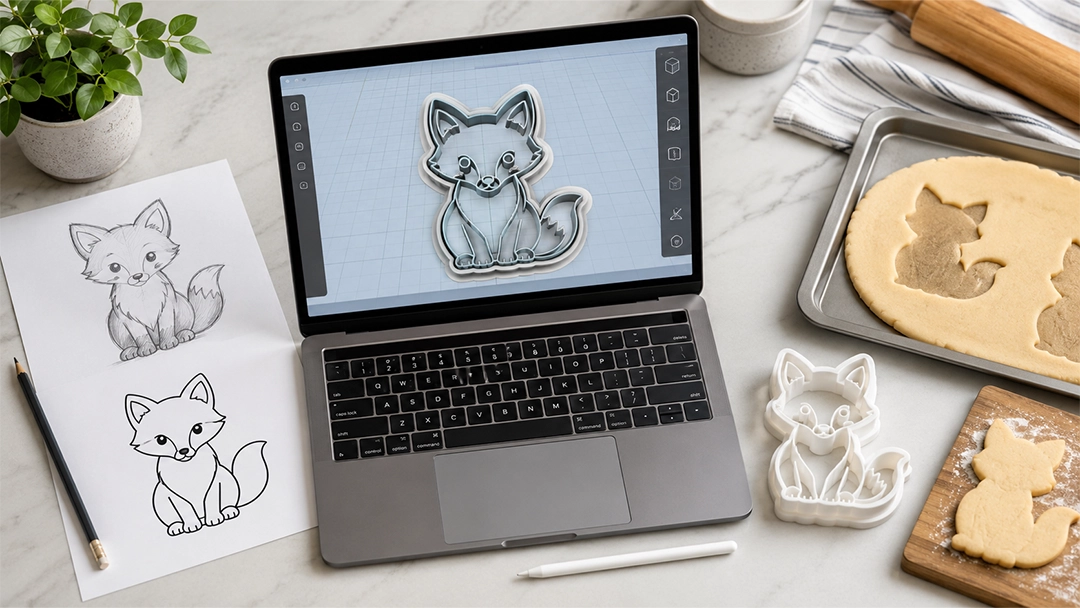
This is also where AI-assisted cleanup can be helpful. If you are starting from flat artwork, a rough sketch, or a simple reference image, an AI STL generator can help move the concept toward usable 3D geometry. The file still needs practical mold thinking, but it gives you a better starting point than trying to manually interpret every shape from scratch.
Before you spend money on silicone, resin, filament, plaster, plastic, or production tests, make sure the design has a clean foundation. The safest question to ask is not only “Can I print this?” but “Will this printed shape help me make the mold I actually need?”
Final Thoughts: Start with the Right Model Before Making the Mold
Creating a mold from an idea, object, or 3D model is completely possible, but the most important work happens before the first pour or print. The shape needs to be analyzed. The release path needs to make sense. The cavity, walls, vents, channels, and scale need to support the material and the finished product.
If you already have an idea, sketch, object, or reference image, you can turn it into a custom STL file before creating your mold. If you already have an STL, it may still need repair, scaling, or mold-specific changes before it is ready. In both cases, the goal is the same: build the mold from a model that is clean, printable, and designed for the way you will actually use it.
Before you spend money on materials, make sure your mold design starts with a file that is ready for production. You can prepare your STL file for 3D printing, preview the shape, and move from idea to mold with more confidence.
Key Takeaways
- A successful mold starts with the right shape, not just the right casting material.
- Physical objects can often be turned into mold designs, but complex shapes may need scanning, cleanup, or custom 3D modeling.
- A mold STL file should be watertight, correctly scaled, printable, and designed around release, wall thickness, and use case.
- Ready-made STL files can work for simple projects, but custom STL design is usually better for products, branded shapes, and small-batch selling.
- Before buying materials, check whether your model is actually mold-ready for printing, casting, demolding, and repeated use.
FAQ
Can I create a mold from a physical object?
Yes. Simple physical objects can sometimes be molded directly, while detailed or complex objects may need 3D scanning, digital cleanup, or custom remodeling before mold making. The main question is whether the object can release cleanly from the mold.
Do I need an STL file to create a mold for 3D printing?
If you plan to 3D print the mold, print a master model, or prepare a digital prototype, you will usually need an STL file or another compatible 3D file. The STL should be clean, scaled correctly, and prepared for the mold’s real use.
Can I use any 3D model for mold making?
Not always. A decorative 3D model may look good on screen but still have thin walls, open mesh errors, undercuts, or no practical release direction. A 3D model for mold making should be checked and adjusted before printing or casting.
What is the difference between a silicone mold and a 3D printed mold?
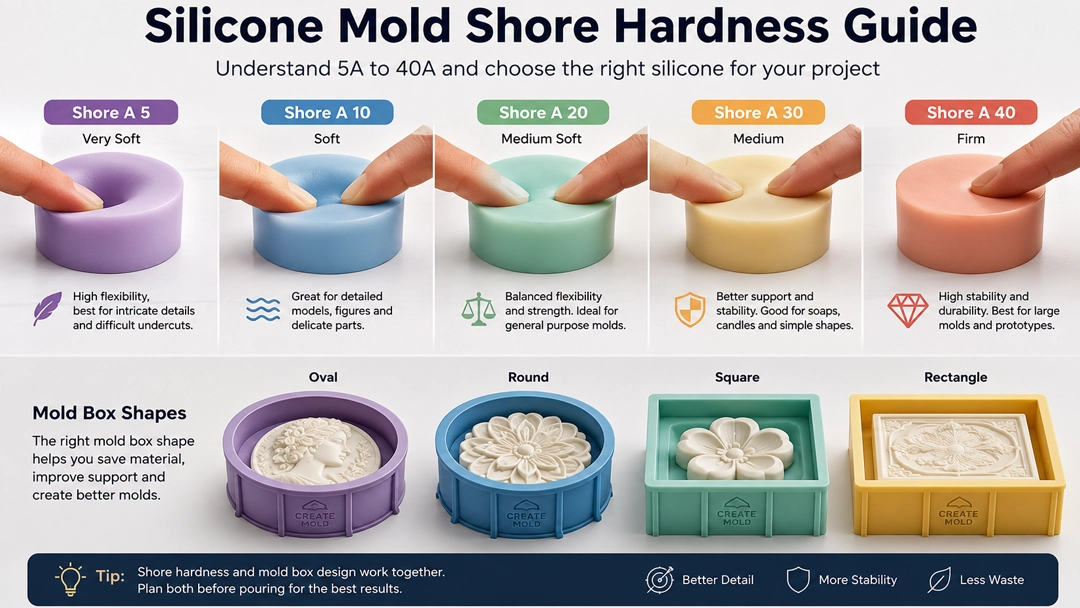
A silicone mold is flexible and often better for detailed castings or shapes with mild undercuts. A 3D printed mold is more rigid and can be useful for prototypes, press tools, simple casting forms, or making a master model. The right choice depends on the material, shape, detail level, and release needs.
When should I choose custom STL design instead of a ready-made STL?
Choose custom STL design when you need a specific size, branded shape, product cavity, two-part mold, object replication, or a file prepared for small-batch production. Ready-made STL files are useful for basic projects, but they may not match your exact mold requirements.
If you already have an idea, sketch, object, or reference image, the next practical step is turning it into a clean STL file before making the mold. CreateMold helps makers move from concept to printable geometry, so you can test the shape, refine the design, and prepare your mold workflow with fewer material-wasting surprises.